Customize a driftwood vase
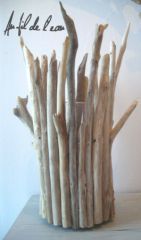
Here's a simple way to turn an ordinary vase into an elegant and poetic decoration using driftwood. Driftwood is dry wood that has been washed and bleached, then washed away by the water. This DIY project therefore requires a preliminary step: a walk and the collection of driftwood on a beach or the banks of a river...
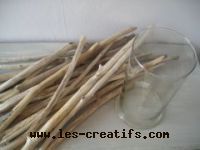
Driftwood
Tools and materials required
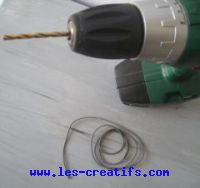
You'll need a drill with a medium-sized bit, as well as elastic (€0.90 per metre): grey tubular elastic threads easily into the holes you've made.
Using elastic rather than wire makes it easy to remove the decoration from the vase, so you can clean it whenever you want.
Preparation
Equalization
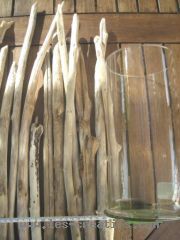
I preferred to even out the wood at the base. I measured the desired height by placing my vase right next to it. I let the wood protrude a little from the surface of the vase.
I took my bearings before cutting.
Assembly

Remember to keep the order in which the wood is arranged during cutting.
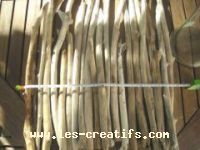
Cut all your wood at the same level and in two rows.
Then thread the elastic through each hole and, once all the wood has been joined by the two elasticated rows, place the vase in the middle of the assembly and tie the ends of the elastic.

Before tying, you may need to fill in the gaps with 2 or 3 additional pieces of wood.
You can now decorate your custom vase as you wish.
Fiche créative proposée par


