Mosaic candle ball
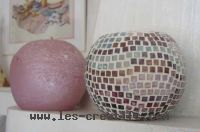
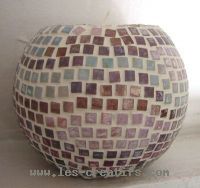
Creation of a round candle with micro-mosaic decoration.
Materials
Materials
- a polystyrene ball (9 cm in diameter)
- micro-mosaics (5 mm squares) in assorted colors
- universal glue
- joint paste (or joint powder to mix)
- a tea light
Prepare the ball
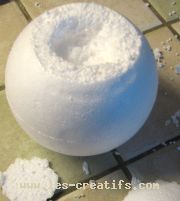
Cut the base of the ball to make it stable, and the top part.
In this upper part, hollow out the center, leaving wide edges to accommodate the flat candle.
In this upper part, hollow out the center, leaving wide edges to accommodate the flat candle.
Gluing the mosaic
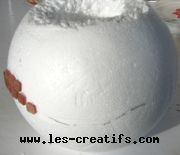
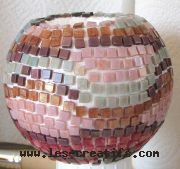
For a wave pattern, draw a curve in the middle of the ball's height with a pencil.
Begin gluing a few centimetres long by 1 wide, above this curve. Glue the first tesserae in 1 or 2 rows with the same color.
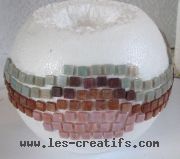
Follow this curve with other colored lines, 1 or 2 tesserae high, and go all the way around the ball.
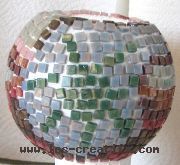
You can also draw a very different design on one side: here, a star in green tones.
Joiner
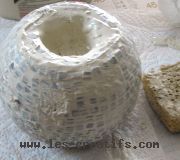
Using a flat stick, cover the tesserae of the joint (here in ecru color for a softer look). Also cover the edges and inside of the "hole" where the candle will be installed (this way, the polystyrene will be "fixed" and won't let little balls escape).
Do not let dry, and remove any excess with a slightly damp sponge.
Finish with a clean, soft cloth to remove any traces of paste from the tesserae without damaging the joints.
The micro-mosaic used here is synthetic: pretty colors, light to glue but... and I warn you, the joint paste is particularly difficult to remove from the small tesserae (unless you do it one by one...) unlike traditional ceramic mosaic or D'Clic mosaïc which I had the opportunity to try.
Cela gives this candle ball an unexpected powdery effect!


