Fabric painting Les Poules
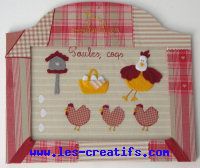
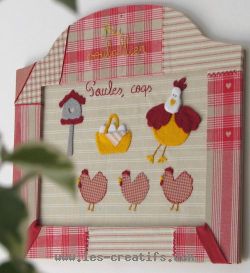
A naive painting on the theme of Chickens in the henhouse, a country theme ideal for Easter.
The painting is made of fabric and felt collage, embroidery and is framed with a matching patchwork fabric frame.
Cutting stage
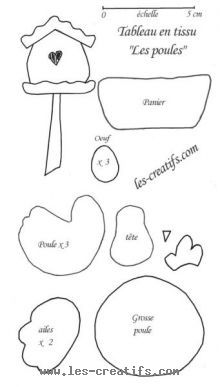
Cut out the various motifs:
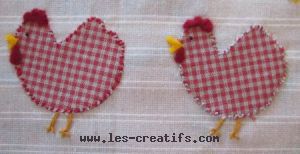
- 3 hens in fabric,
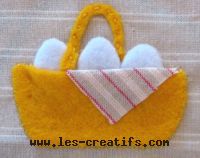
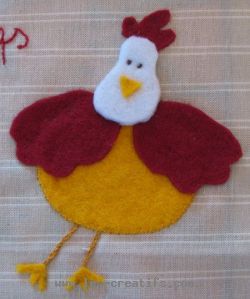
- the basket and the big hen in fine yellow felt,
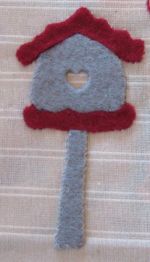
- the wings, crest, roof and bottom of the birdhouse in fine red felt,
- the head and 3 eggs in thick white felt.
Then cut out the small motifs not shown on the pattern: the legs of the big hen, the basket handle, the protruding tea towel, the crests of the 3 hens...
Then cut out the small motifs not shown on the pattern: the legs of the big hen, the basket handle, the protruding tea towel, the crests of the 3 hens...
Gluing stage
The best way to avoid glue stains is to use a fabric glue spray rather than a liquid textile glue (in a ventilated room as a precaution).
Arrange the elements as you see fit, and glue them in place once you like the arrangement.
Embroidery stage
For aesthetic reasons more than for utility, most of the glued pieces are embroidered in small stitches, or in small crosses, with 1 or 2 strands of yellow, red or grey embroidery thread.
Those that are not are those in relief: the red wings, the white head, the tea towel and the eggs.
The legs of the big hen are embroidered in chain stitch (more voluminous), the eyes are black knot stitches.

Text is added by taking advantage of the lines: first, draw it on a piece of paper to see where it will fit, then reproduce it freehand in pencil. Text in attached letters is embroidered in stem stitch.
Gluing to frame
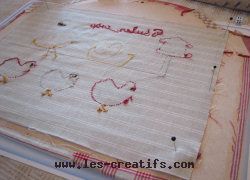
Place the patchwork fabric frame on the reverse side and the embroidered fabric, holding it in place with pins (which are happy to go into the wood) and turn over gently to ensure that the motifs are well framed, and the fabric stripes horizontal).
once you've marked the right spot, glue the edges of the frame, place the fabric and hold it in place with the pins, stretching it well during the drying process, which is very quick.
Your picture is ready!
If you've made a fabric picture similar to this one, or just inspired by it, don't hesitate to share your photos with us (simply enter a comment below)...
You know Eglantine? She's a large-format felt Easter hen...
